Table of Contents
Introduction to Cloudways
You might have heard of the term ‘cloud hosting’ but when it comes to the fastest and reliable WordPress cloud hosting provider, I am sure you would have heard about Cloudways. And if you didn’t know it yet, Cloudways is a managed WordPress hosting solution where everything is managed in the cloud. What it means for you as a user is that, their servers are optimized to run WordPress efficiently without any lag in performance. Getting started on Cloudways is as easy as choosing your cloud, selecting your application, server location and deploying it within minutes.
Cloudways does not host your sites directly on their servers instead it is hosted with one of their hosting infrastructure partners, i.e., DigitalOcean, Linode, Google Cloud Platform, Amazon Web Services, and Vultr. In addition to managed WordPress hosting, they also offer managed Magento, Drupal, Joomla, and Prestashop hosting. Cloudways is also well-known for its reliability, performance and 24/7 live chat support for all its customers.
Getting Started
Before you can start choosing your server, selecting your application and deploying it, you will be needing a Cloudways account. Why don’t you go ahead and get one? (no credit card required + free trial)
Click on the START FREE button and it will launch the sign-up wizard.

Installing WordPress on Cloudways
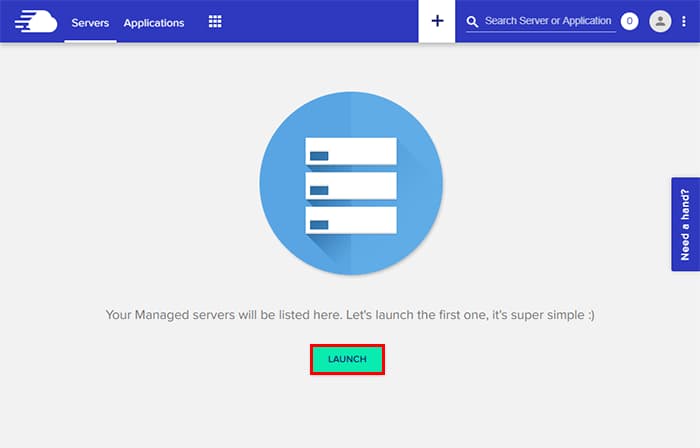
Once you have created your free account on Cloudways, it is time to choose your server and install WordPress. Log in to your Cloudways account and launch a server for your site.
Configure Application & Server Details
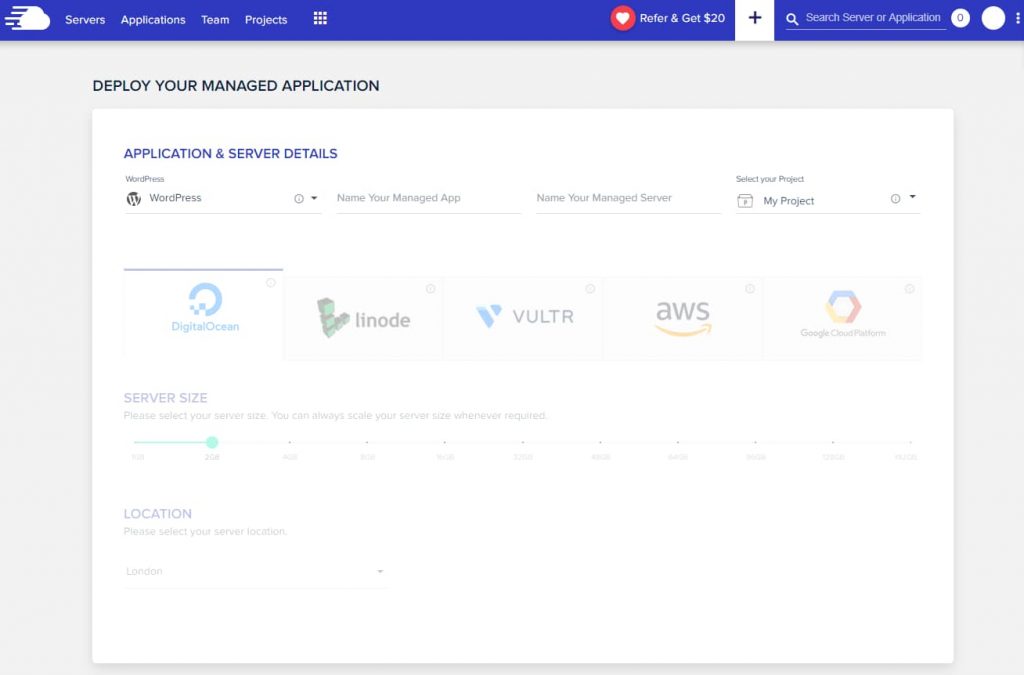

Cloudways currently offers four different selection of WordPress: A Cloudways optimized version, WordPress with WooCommerce, WordPress Multisite and a clean WordPress installation (a default WordPress). It is highly recommended to choose the first option because, with optimized installation, you get a free WordPress cache plugin called Breeze.
The next step is to name your application and server as I named “My WordPress”. Although it is just for your reference and will affect this tutorial if you choose any other name.
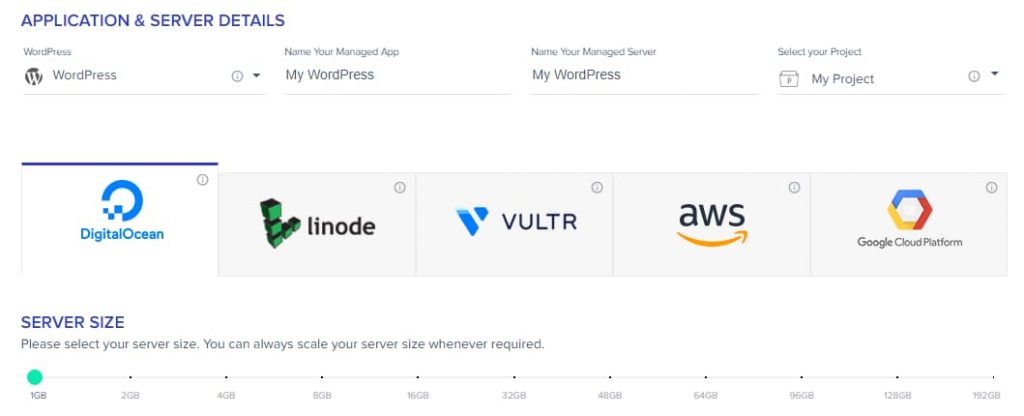
After typing desired names in the required fields, choose “DigitalOcean” as your cloud infrastructure. Then choose your server size and location.
NOTE: You do NOT need a DigitalOcean account separately to install WordPress on Cloudways throughout this tutorial. Cloudways manages everything for you!
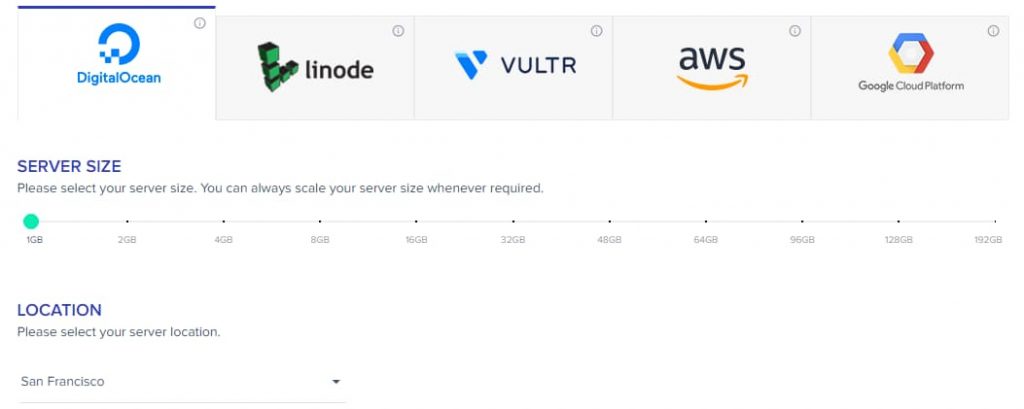
Make sure you allocate at least 1GB as your server size and choose whichever server location you feel is nearer to the country from where most of your traffic (would) originate from. If it is a local business, choose a server location nearest to your country. You’re now all set! Click “LAUNCH NOW” button to start deploying your server.
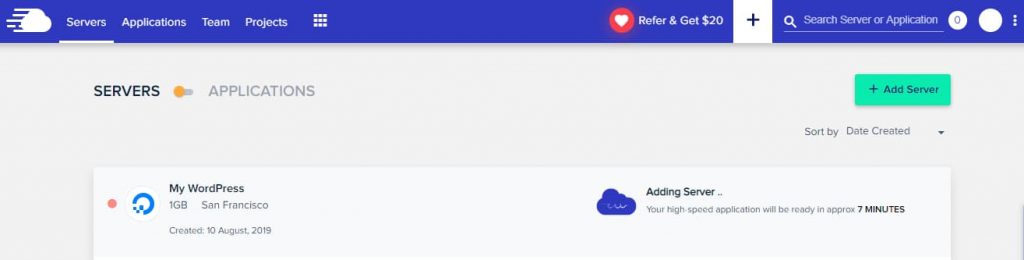
Your server will now be deployed successfully then you can start playing around with it. The whole process above can be summarized in this short video by Cloudways.
Coming back to the tutorial,

You can manage your server (in the future) by clicking on the vertical ellipsis (⋮) icon.

Managing the Application
Now that we have deployed a server successfully on Cloudways, let’s move on to the ‘Application Management’ section.
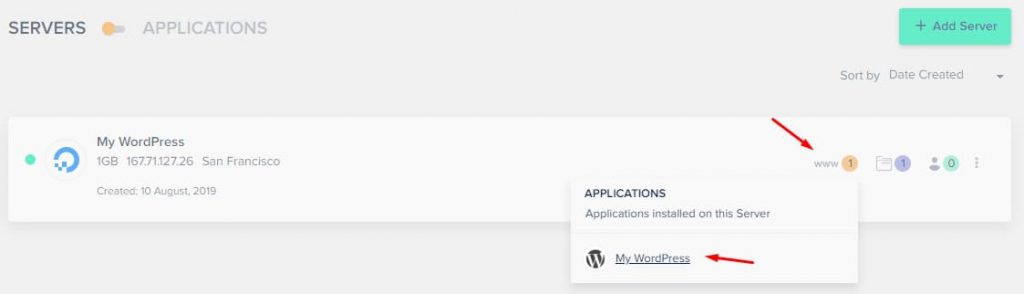
Click on ‘www’ and then select your application (identified by the name you gave it earlier when choosing the application to be installed).
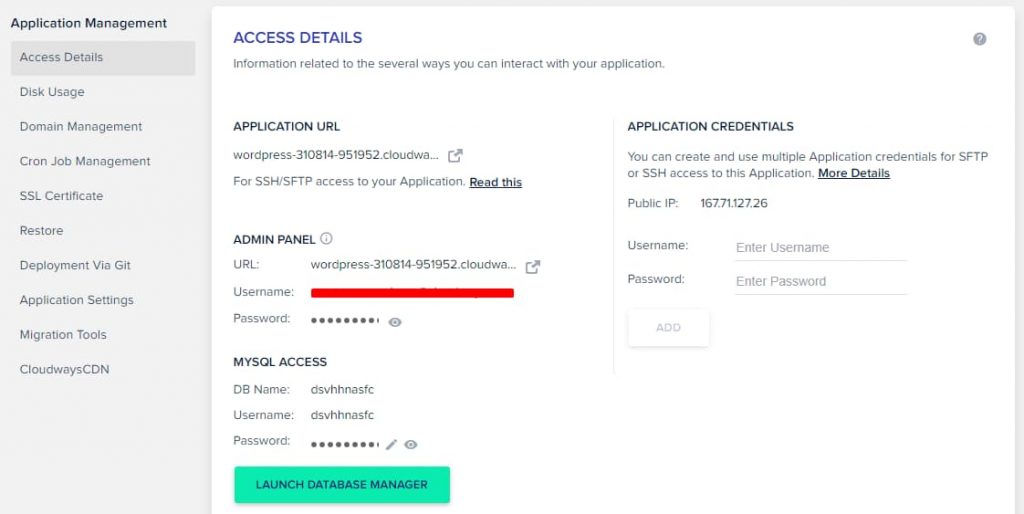
This will bring up the Application Management screen. Here’s where you can control every detail and configuration of your newly installed application.

You can now launch your freshly created WordPress site by clicking on the ‘URL’ under ‘Admin Panel’ and logging in using the username and password just below it.
After logging into WordPress, you will be welcomed to your WordPress Dashboard.

You may notice that the Breeze — free WordPress cache plugin has already been installed for you.
Adding Your Domain Name
You should now be adding your domain name to your WordPress site. This can easily be done by navigating to the ‘Domain Management’ tab and adding your domain name.
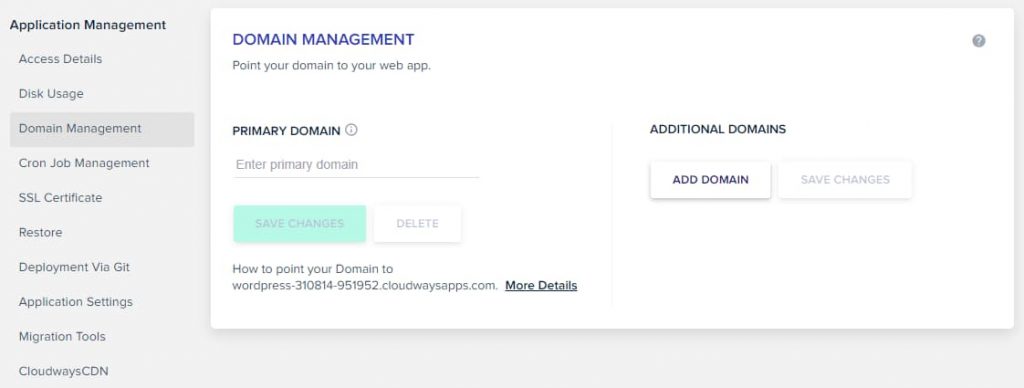
After adding your domain name, don’t forget to hit the ‘Save Changes’ button and follow the on-screen instructions. If you do not have a domain name yet, you can grab one from NameCheap.
Adding Free SSL Certificate
Cloudways offers you an option to add a free SSL certificate to your site using Let’s Encrypt.
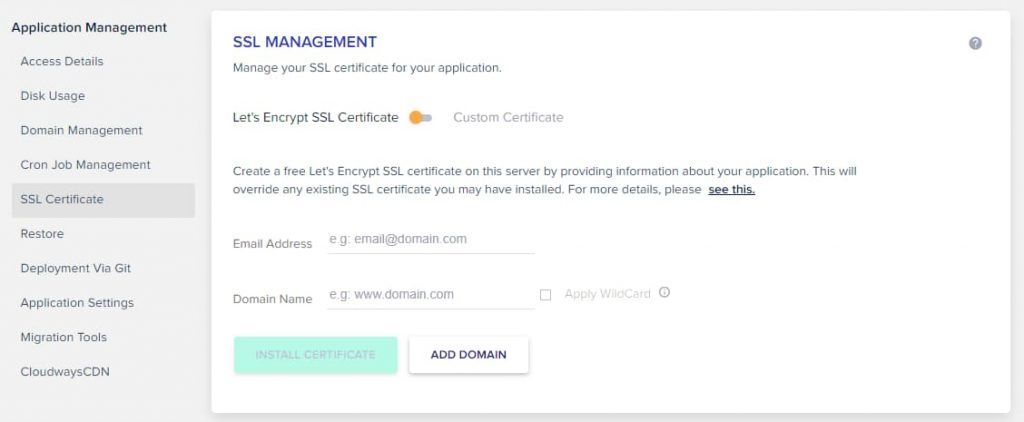
Or even if you are interested in adding a custom certificate, that is possible too. But for the sake of this tutorial, let’s focus on the free SSL certificate though. Fill in the required information and hit the ‘Install Certificate’ button to launch the certificate installer.
It may take a while to install the certificate. Make sure you have added your domain to Cloudways before installing the SSL certificate, else it will throw up an error.
Miscellaneous Options
Cloudways also allows you to restore your web application from available backups in case of an emergency.
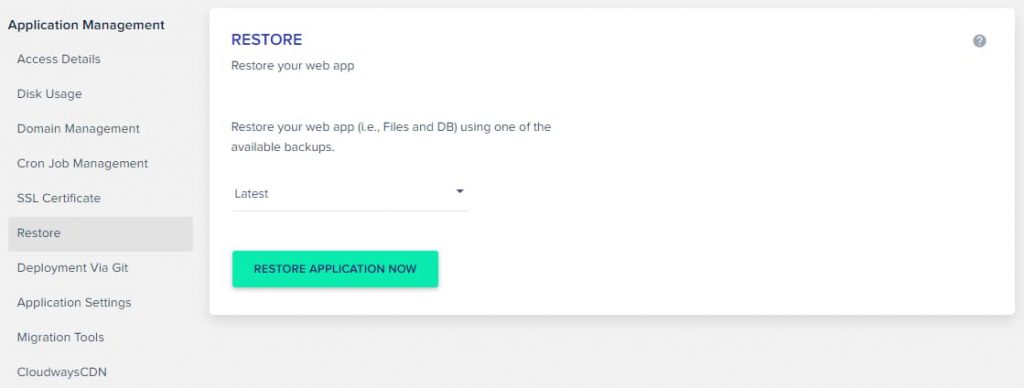
You can select a backup to be restored once you have taken at least one backup of your application.
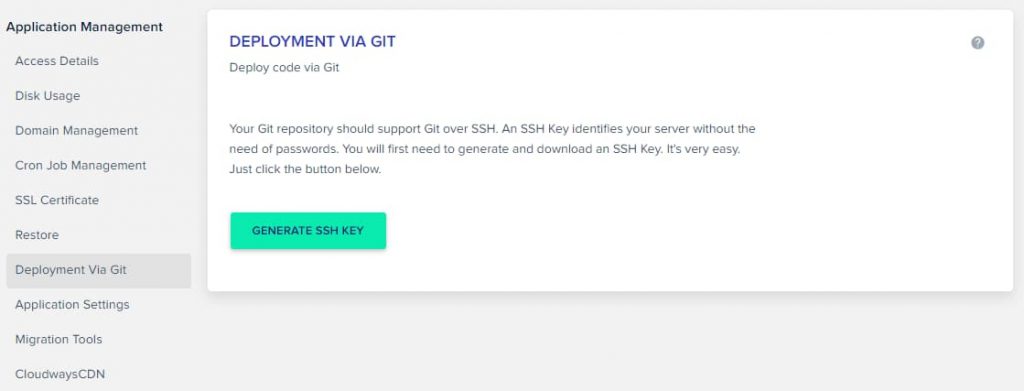
Deploying your WordPress via Git is also possible on Cloudways. But before that, you need to generate and download the SSH keys and upload them to your Git repository and deploy them. Later you should paste your repository SSH address over here to clone it successfully.

You can further configure several other application-specific settings for your application (WordPress, in our case) under the ‘Application Settings’ tab.

Be careful with what you play around here. Configuring something incorrectly can break your application and make your site crash.
Migrate Your WordPress Site to Cloudways

If you are migrating your site to Cloudways from some other web host, you can easily do so by installing the Cloudways WordPress Migrator plugin to your old site and filling in the required details of your Cloudways account.
This hassle-free migration is made possible by BlogVault, a WordPress backup and security service in association with Cloudways.

Fill in the required fields and hit the ‘Migrate’ button to get started with migrating your site to Cloudways.
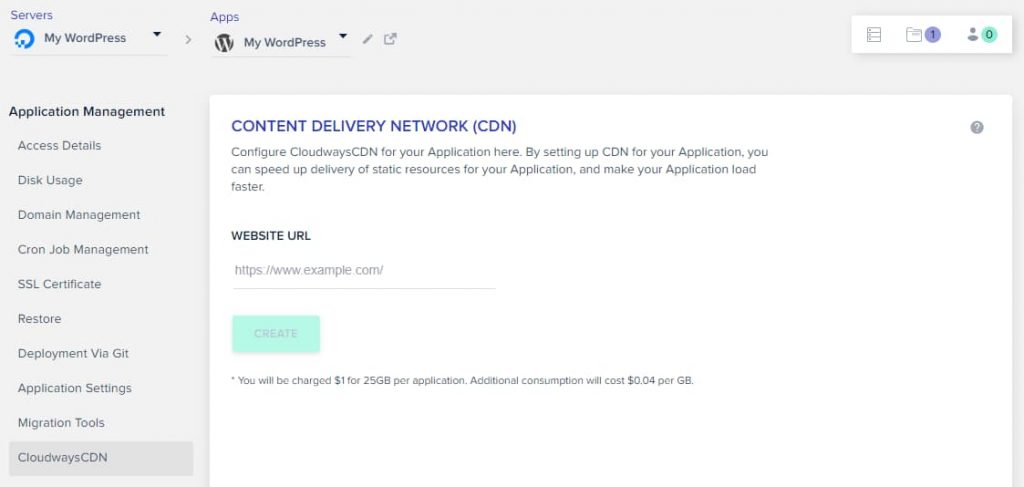
Install CloudwaysCDN for Global Audience
The installation of CloudwaysCDN allows you to distribute the content of your site from several strategically chosen locations, which guarantees that the visitor downloads your content from the server closest to their location.
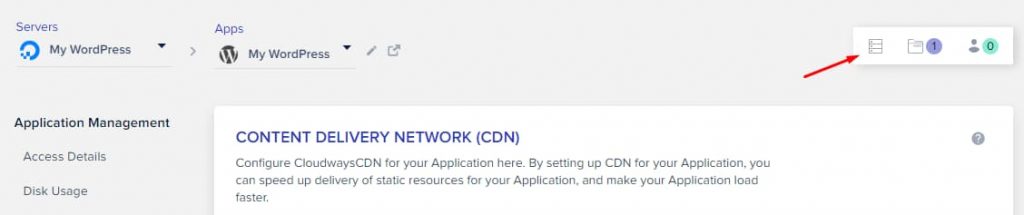
Cloudways Server Management Console
We have now finished playing around with all the application settings on Cloudways. It is time to have some fun exploring your server. To switch over to your server management screen, click on the server icon in the top-right corner.
You will now be welcomed on your server action.
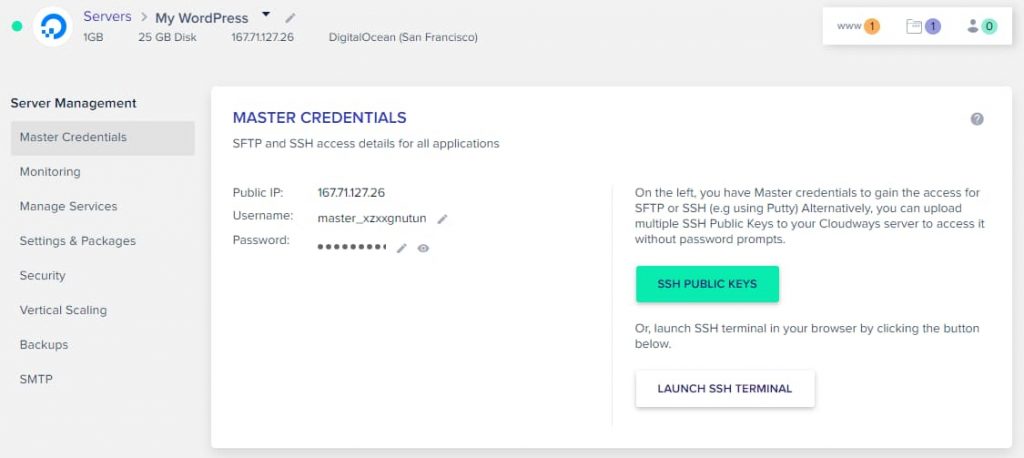
Over here, you can view your public IP address, your SFTP and SSH credentials.
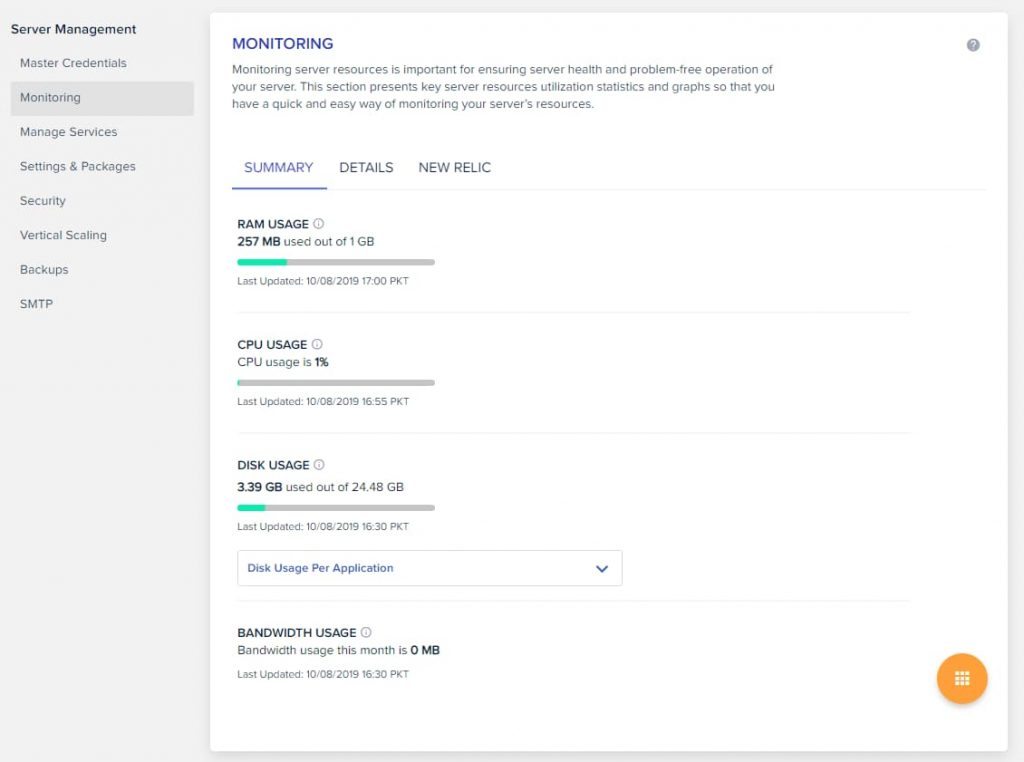
Server & Application Monitoring
Under the ‘Monitoring’ tab, you can monitor your server’s performance such as idle CPU time, reads and writes per second, network traffic, free memory, cache hit rates, MySQL connections, etc.
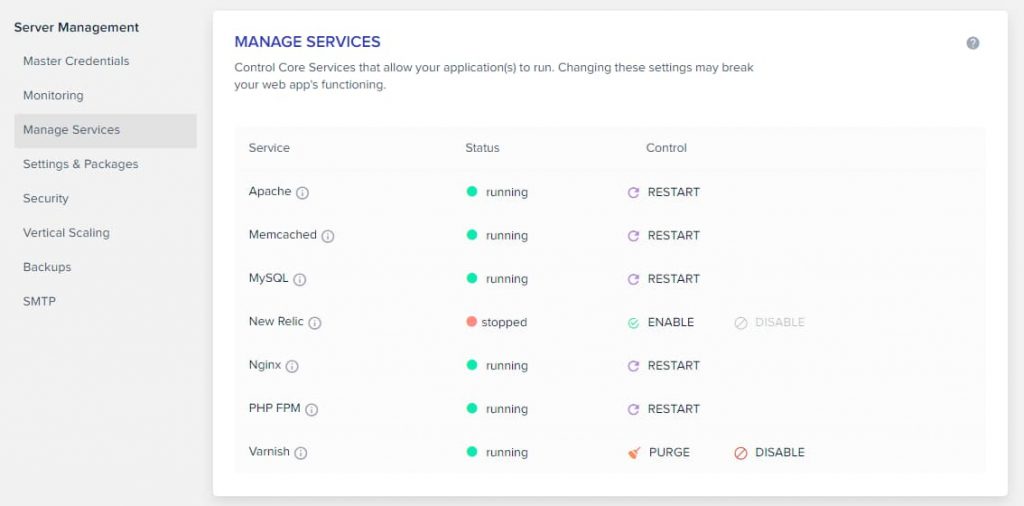
Managing Services
You can manage your Apache server, NGINX, Memcached, MySQL databases, New Relic, PHP-FPM and Varnish cache under the ‘Manage Services’ section.
Managing Settings & Packages
You can further manage your basic settings such as execution limit, upload size, memory limit & error reporting and advanced settings such as max input variables & time, APC & OPCache memory, NGINX configuration, etc under the ‘Settings & Packages’ tab.
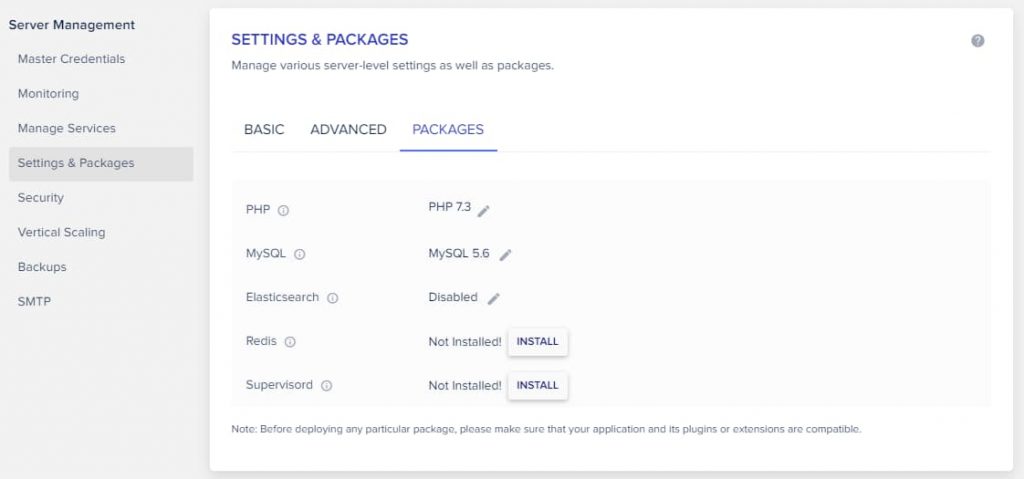
You can also manage your application’s PHP & MySQL versions, Elasticsearch and Redis cache over here.
SSH/SFTP Security
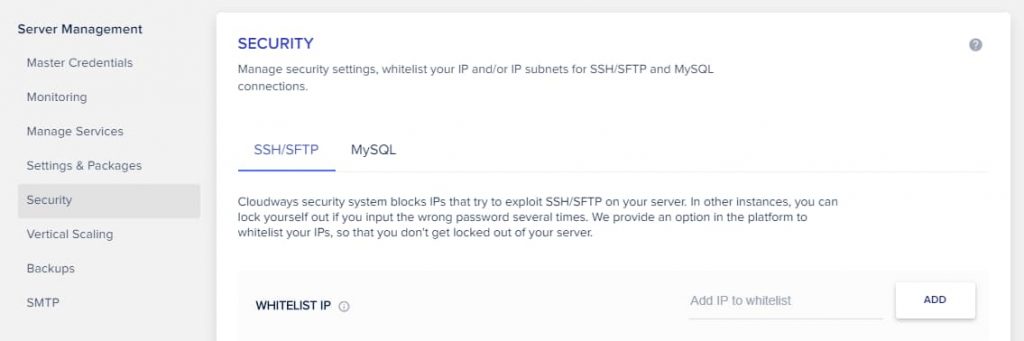
Over here, you can check if your IP address is blocked from accessing SSH/SFTP. As you can see from the screenshot, you can also whitelist-friendly IP addresses.
Vertical Scaling with Cloudways
Increasing the resources allocated to your server is a piece of cake on Cloudways as it is as simple as playing with a slider.
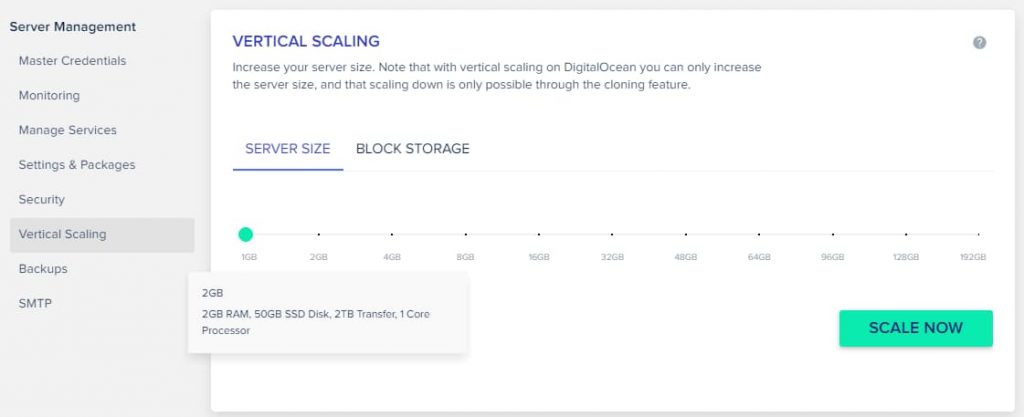
Move your slider to the desired resource size and hit the ‘Scale Now’ button. By the way, do not play with these features if you do not know what you are doing.
Backups – The Most Important Stuff
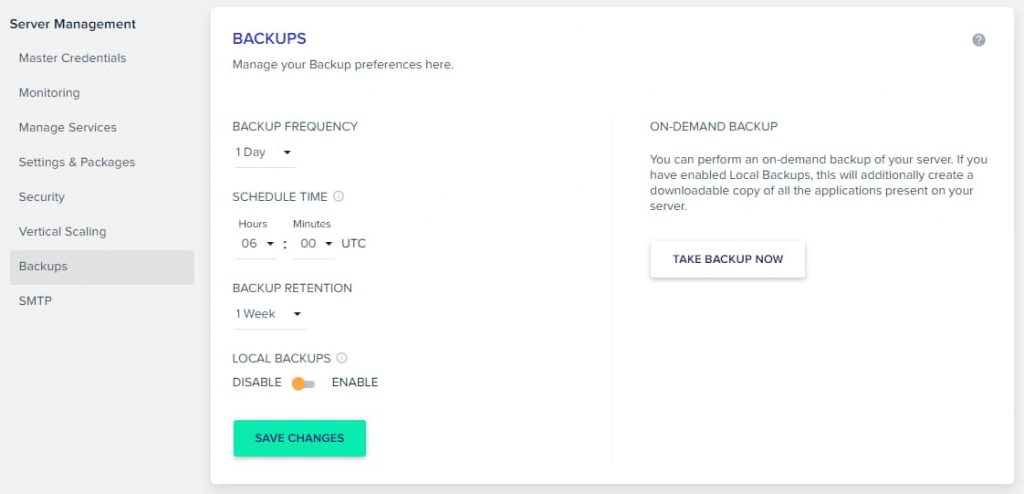
Though backups on Cloudways are done automatically, you can create a backup on-demand too. You can also manage your backup frequency and retention settings over here along with an option to create local backups. Creating a local backup allows you to download it via SSH/SFTP.
Simple Mail Transfer Protocol (SMTP)
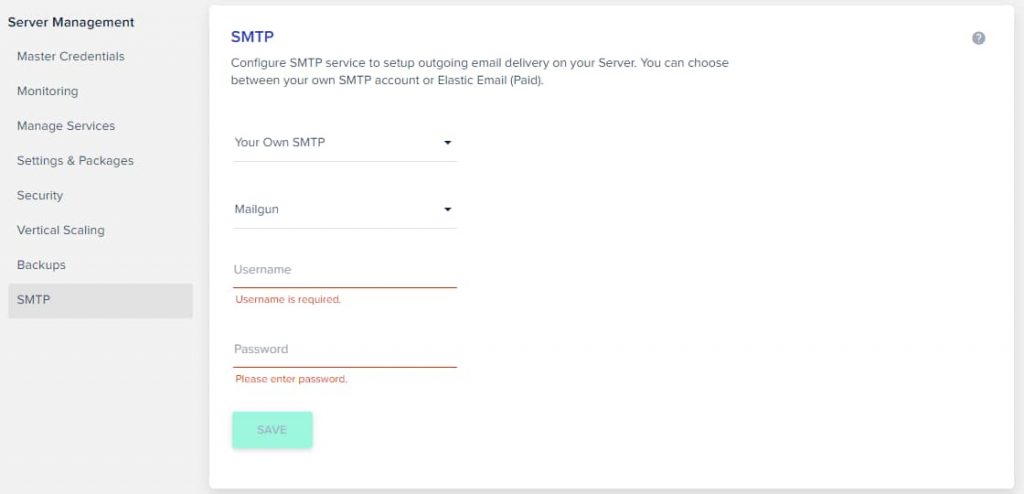
You can either configure your own SMTP account or use their paid Elastic Email to set up outgoing email delivery on your server.
With this, you are reaching the end of the detailed step-by-step installation guide for installing WordPress on DigitalOcean cloud using Cloudways.
Conclusion
I hope that you managed to follow this guide and install WordPress successfully on DigitalOcean using your Cloudways dashboard. In case you get stuck in between while following any step, you can feel free to get assistance from their live-chat support team. They would be more than happy to assist you. Or if you have any doubts, you can ask me in the comments section below and I would be glad to help you out.
By the way, if you found this guide useful, do share it with your friends on Facebook & Twitter! 🙂
Antony, you did a better job at documentation than Cloudways, themselves! Do you have any guidance or links for us dummies/n00bs who don’t know what to do with the “advanced server settings” like the “execution limit,” “upload size,” and “memory limit”?
Hello Joe, I’m glad you liked it. As for the so-called advanced server settings like execution limit, upload size and memory limit I would like to tell you to leave it at its default values unless you know what you’re really doing. Almost all major hosting providers have their own default values set so that things just work for everyone out of the box. If you still insist on modifying those settings, I suggest you make a quick search about them on Cloudways Support Page or ask more about it using their live-chat support.
I tried setting up my WordPress hosting on Google cloud and found it slightly more difficult than expected. I have subbed to your posts RSS feeds so I read it from time to time. This post caught my eye.
I have tried Amazon EC2 hosting and a few others I have found that the time you put into setting up the server with proper security takes too long. I would rather just hire someone else to do it, or pay for a paid hosting plan.