With the increasing number of coronavirus cases and closure of physical stores, more and more people are beginning to shop online – be it for essentials or even for other things like gadgets, accessories, and whatnot. Realizing that this is a good time to start catering to this growing demand, many stores and freelancers have started focusing on selling products and services online.
Now, I understand that if you are on this page, it means that you would like to sell something on your WordPress site too – I am not going to ask what it is but if you’re interested, you can let me know in the comments section below.
In this article, I’m going to show you how to create a simple order form on your WordPress site and accept payments online.
Table of Contents
Before we begin
Before we can start creating order forms on your WordPress site, you need the WPForms Pro WordPress form builder plugin on your site. You might already be using the free version which is great. But with the pro version, you can unlock a whole lot of other features which can greatly enhance the form building experience on your site. But more importantly, it allows us to create order forms and collect payments online using Stripe or PayPal.
You might want to check out my WPForms review!
How to create an online order form in WordPress
Step by step guide to create a simple order form with online payments –
Total Time: 15 minutes
Install and activate the WPForms plugin
Install and activate the WPForms Pro plugin on your site.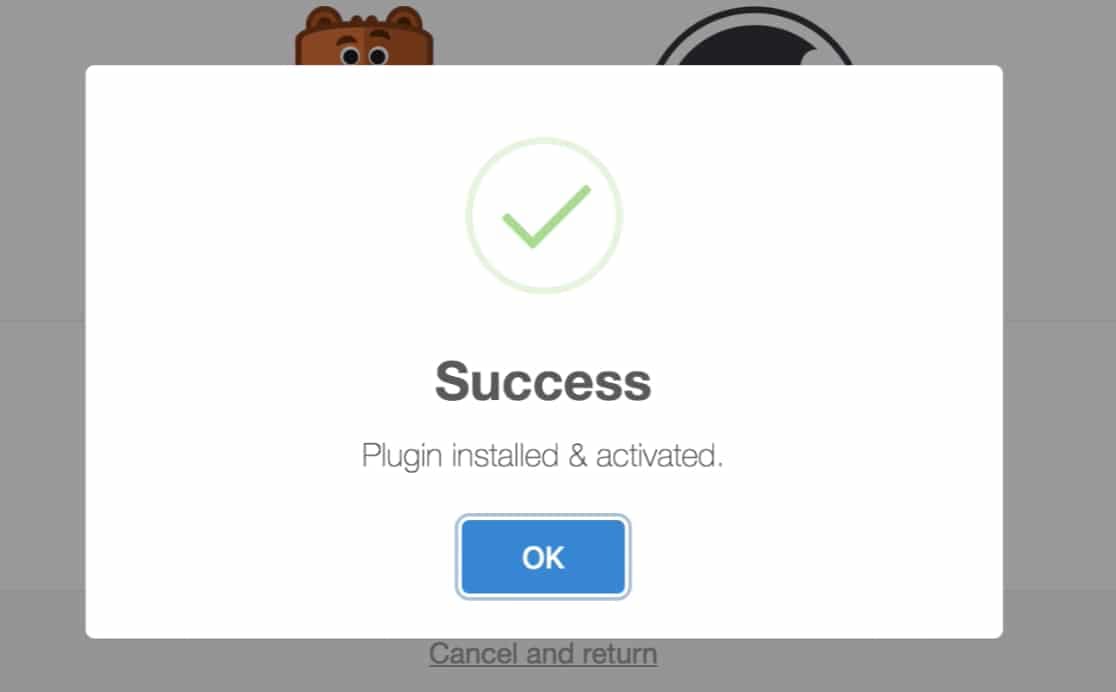
Create a billing order form
Go to WPForms –> Add New section from your WordPress dashboard and choose the Billing/Order Form template.
Customize items that can be ordered
Scroll down to the Available Items section on the form preview and click on it to add or remove items that can be ordered on your site. If the default order form looks bland for you, you can make it look attractive by using images. To do that, select the Use image choices checkbox. Once you have selected it, you can upload images for each item on your site – be creative! Once you have done that, you can also customize the form by adding or removing fields that you want or don’t want to be displayed on your order form.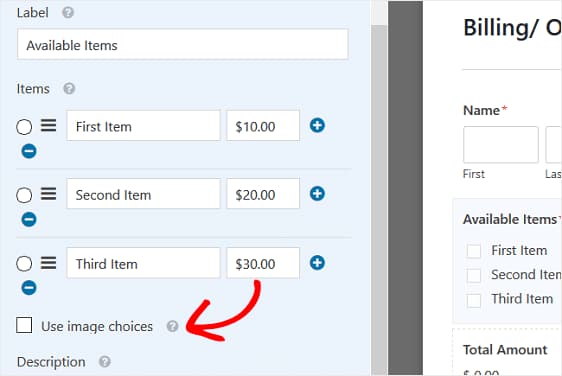
Configure form notifications
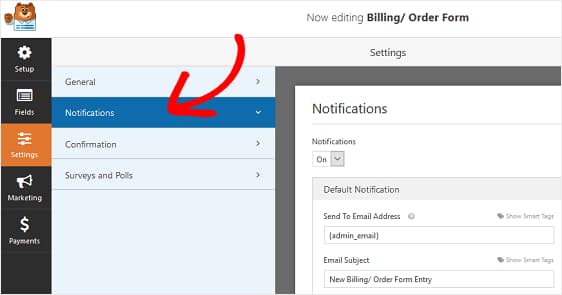
Once you are done with the above steps, save your form, navigate to the Settings tab in the form builder, and then click Notifications. From here, you can configure whether to send order confirmation emails or not, if yes, then to whom (customer and/or order processing team), and how using conditional logic
.
Configure order success action
Once someone puts in an order, you can choose to display a success message, redirect them to a order confirmation page, or send them to an entirely different website. I recommend you to either display a success message or show them a confirmation page to tell them that their order went through. To do that, click on Confirmation on the Form Settings screen.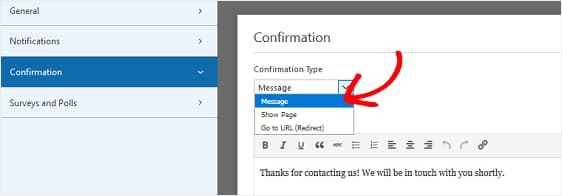
Configure payment settings
Now, coming to the most important part of your order form – configuring the payment settings to process the order. WPForms supports payment gateways like Stripe, PayPal, and Authorize.net. You can choose to use one specific gateway or support all of them, it’s up to you. I personally prefer using Stripe and PayPal for processing online payments.
Once you have decided which payment gateways you are going to use on your site, activate those add-ons from your WPForms Addons page, save your form and reload it. Now, you can configure them under the Payments section.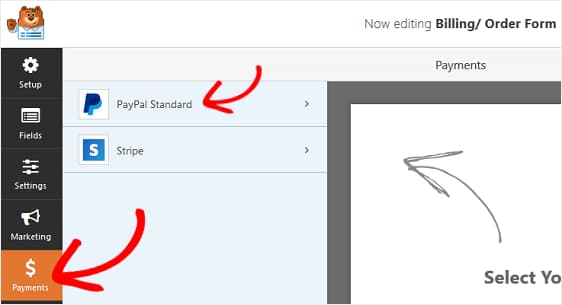
Add order form to WordPress page
Now, go to the page where you want your order form to be displayed, add a new WPForms block and choose the order form which you just created. Update or publish your page and click on the Preview option to view your marvelous creation.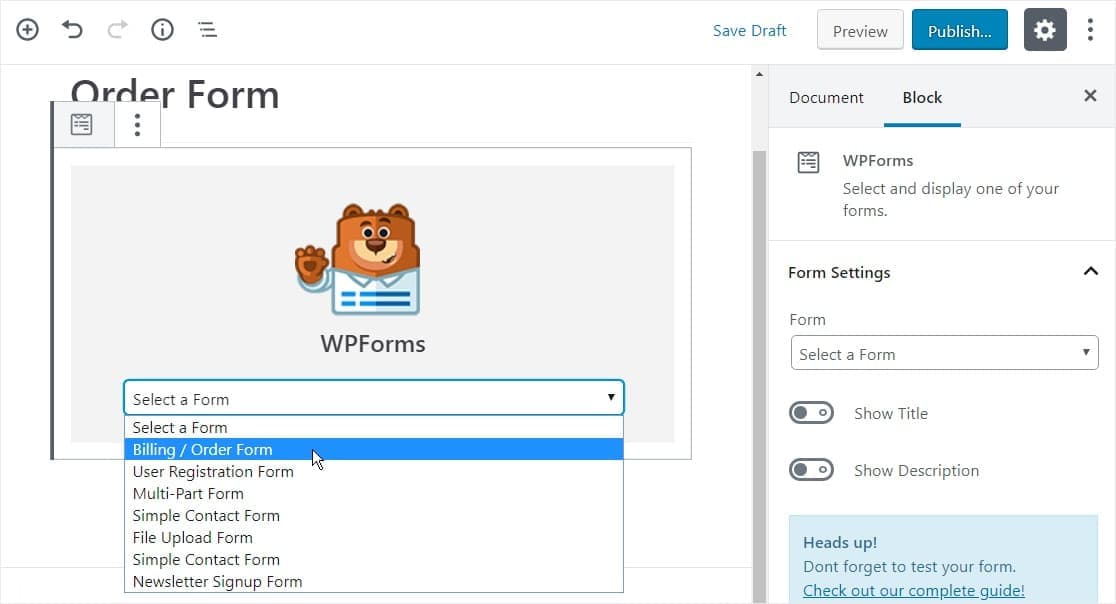
That’s it, you now know how to create your own order forms. Remember that you can even add these forms to your sidebar or other widget areas. But please don’t add it to a widget area if it doesn’t make any sense – use it when necessary.
