
When it comes to running an online store, it’s all about selling things – as much as possible while still keeping the costs low. But people don’t always buy what they want, right? Sometimes, they need a little push. It might be in the form of a reminder, retargeted advertisements, or even a simple lightbox popup.
Yes, you read that right.
The humble lightbox popup can still do wonders for your eCommerce store. It can help you keep visitors stay longer on your website, convert them into potential leads, and boost the sales for you. And in this article, I’m going to show you just that.
But before that, let’s see what a lightbox popup is.
Table of Contents
What is a lightbox popup
A lightbox popup is a type of popup where the popup comes into focus by dimming the areas surrounding it. That is, it is displayed as an overlay to the existing website content – on top of it. Here’s an example for you –
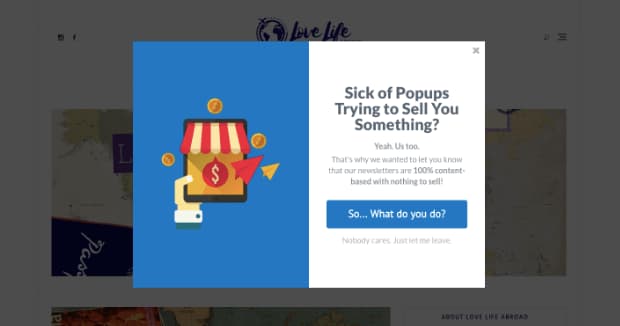
This way, people can stay on the same page as before while still being able to see what’s in store for them – be it a discount, voucher, or coupon code.
One way to get the best results out of lightbox popups is by displaying it to users when they are just about to leave the website. This way, you are not distracting them when they are looking at an interesting product. Rather you are only trying to grab their attention when they are trying to leave the page without making a purchase.
If they were still undecided, this might help them to jump the wall and arrive at a decision. If they didn’t have an idea of buying the product before, this might give them a reason to. But if they already liked it but couldn’t arrive at the final decision, this might help them take the final step.
What should you display on the lightbox popup
Well, you can display anything you want but announcements about your latest sale or sitewide discounts would be better. One thing which is more popular nowadays is offering coupons when a user seems like abandoning the site. This way, you are converting a potential lead to a customer while they save some money off their purchase. It’s a win-win situation for both of you.
In addition to this, you can run different lightbox popup campaigns on different pages (product categories), display popups only when a set criterion is met, and retarget them.
Sounds interesting? Let’s see how you can get started.
First, you need the OptinMonster plugin on your site. If you haven’t heard of it before, it is one of the most popular WordPress popup and lead generation plugins out there. I have already covered it on my site, check out my OptinMonster review for more information. Their basic plan is just fine for creating lightbox popups. But if you want to enable the exit-intent feature, you need to be on their Pro plan.
Then, you need to follow the instructions below to create and display a lightbox popup on your WooCommerce store.
How to display a lightbox popup on your WooCommerce store
Step-by-step guide to create and display a lightbox popup for your online store.
Total Time: 15 minutes
Create a campaign
Login to your OptinMonster account and click on the Create Campaign button.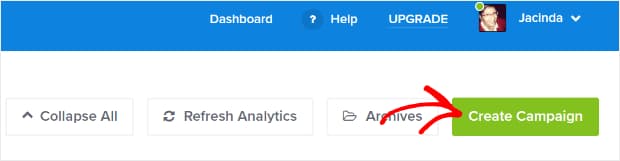
Choose campaign type
You can choose any campaign you want. But for the sake of this guide, let’s just stick to what we want and that is Popup.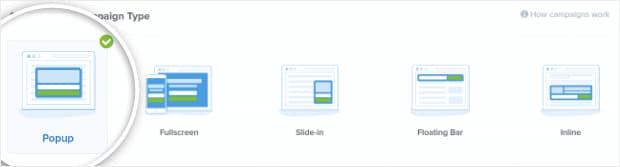
Select a template
You can now choose a template of your choice. I’ll be going with the Checkout template.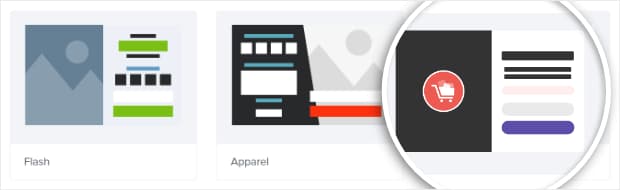
Name your campaign
Give your campaign a name and click on the Start Building button.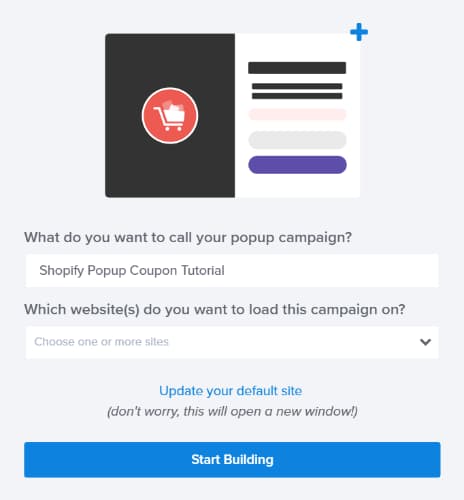
Customize your lightbox popup
You will now be taken to the OptinMonster’s drag and drop popup editor screen from where you can fully customize your popup.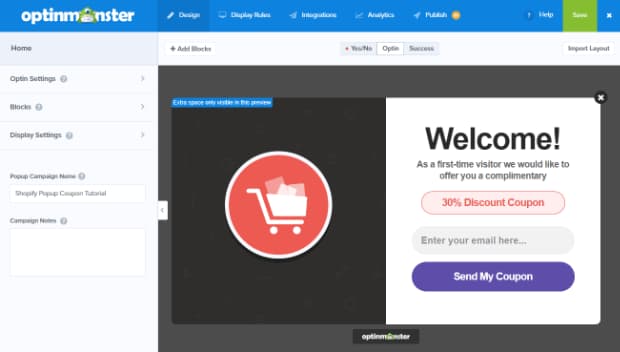
Save your changes
Keep saving your changes as and when you make them. No one likes losing all the changes they made due to bad internet connectivity or a browser/PC failure.
Set up coupon delivery
Click on the Success view to set up coupon delivery. You can either display it instantly and send it to their email address (recommended) or only display it over there.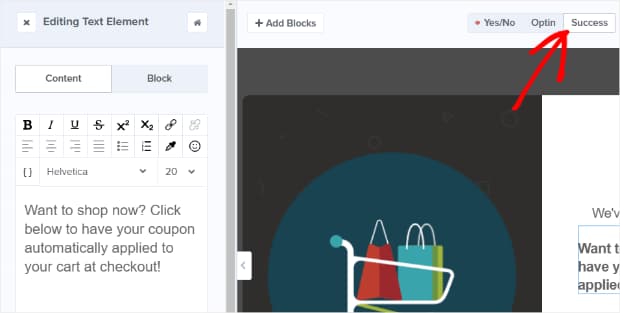
Enable exit-intent
Go to Display Rules and change the condition to ‘If – exit detected’. Then, select the level of sensitivity you want from Low, Medium, or High. Medium sensitivity should work fine for most users.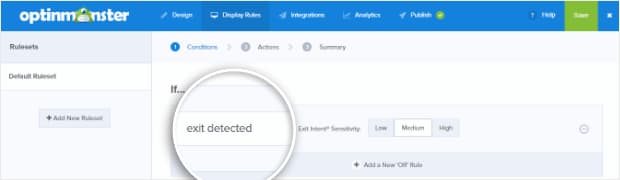
Select email list
Go to the OptinMonster campaign editor page and click on Integrations –> Add New Integration. From here, you can choose an email marketing platform of your choice, connect it with OptinMonster, and choose your email list to which you want the email address to be added.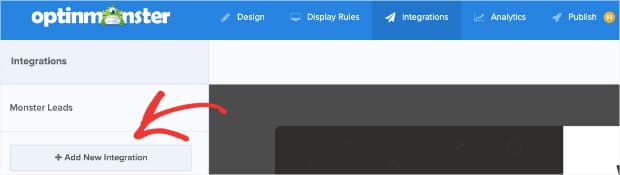
Publish campaign to WooCommerce
You can now publish your popup and enable it on your WooCommerce store by installing the OptinMonster plugin from the WordPress plugin repository, activating it, and enabling it from your list of campaigns.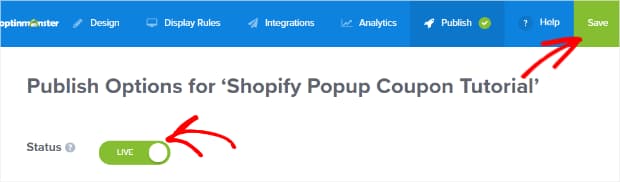
That’s it. You can now run different campaigns for different products at different seasons seamlessly using OptinMonster. If you liked this, you might also be interested in creating spin-to-win marketing campaigns or content locking in WordPress.
Anyway, if you haven’t got OptinMonster yet, you can get now by clicking below.
P.S. Check out these 15 best WooCommerce plugins that can skyrocket your sales.