
Table of Contents
What is Zapier
Zapier is an automation platform that allows you to integrate different web applications and create custom workflows that can be fired with the help of triggers. What this means is that you can connect two of your favorite applications and choose what should happen automatically after a trigger is fired without any manual intervention.
For example, you can connect Gmail with Trello to create a new card on Trello each time you receive an email that matches particular criteria. Let’s just say that if the email has the subject ‘Project Details’, it should create a new Trello card automatically.
Here, Gmail and Trello are your favorite web applications. And a new email with the subject ‘project details’ is your trigger. The creation of a new Trello card with the details extracted from your email is the workflow.
Now, you get an idea of what you can do with Zapier. Right?
Benefits of connecting WPForms with Zapier
With Zapier, you can instantly connect WPForms with 3,000+ other web applications that you use every day in both your personal and business life to automate your work. It is the ultimate productivity booster for startups and large businesses alike. Using Zapier, you can easily connect your WordPress forms to numerous web applications to add even more functionality.
Some of the type of applications you can connect to WPForms using Zapier include –
- Email marketing and lead generation platforms
- CRM tools
- Project management solutions
- Databases
- Phone and SMS services
Examples of WPForms + Zapier integration
Using the WPForms and Zapier integration, you can –
- Create a Lead in Salesforce
- Create invoices on FreshBooks
- Send text messages using Twilio
- Make a task in Trello or Asana
- Add a customer in QuickBooks
- Get a Slack Notification
- And many more. The list is endless!
How to connect WPForms with Zapier
Before you proceed with the below tutorial, you should be aware that you need the Zapier add-on for WPForms for the automation to work.
Step by step guide to install and set up WPForms Zapier integration using the official addon –
Total Time: 15 minutes
Install the Zapier addon
If you haven’t got the Zapier addon installed already on your site, make sure you install the Zapier addon from the WPForms addons page.
Open Integrations page
Once you have installed and activated the Zapier addon, go to the WPForms Settings page and then click on the Integrations tab.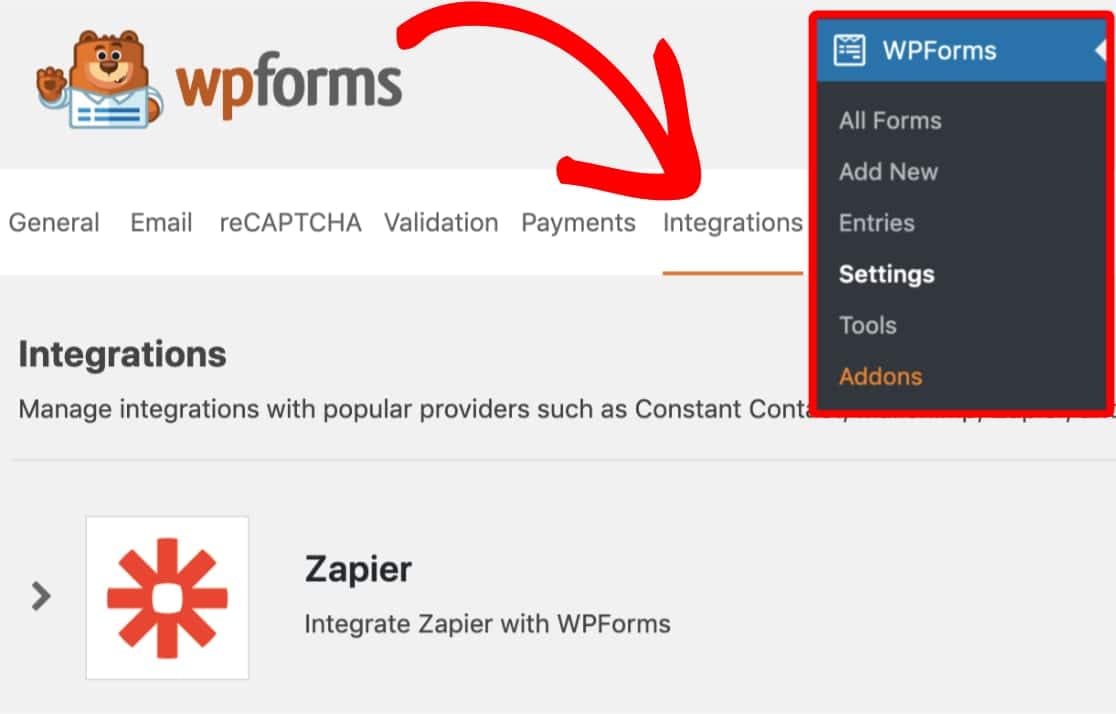
Find Zapier API key
Now, click on the Zapier option to expand it. Here, you can find the Zapier API key for your site which we’ll be needing in Step 7.
Create zap in Zapier
Then, you need to create a zap (their term for integration) in Zapier by logging into your account and clicking on the black + button.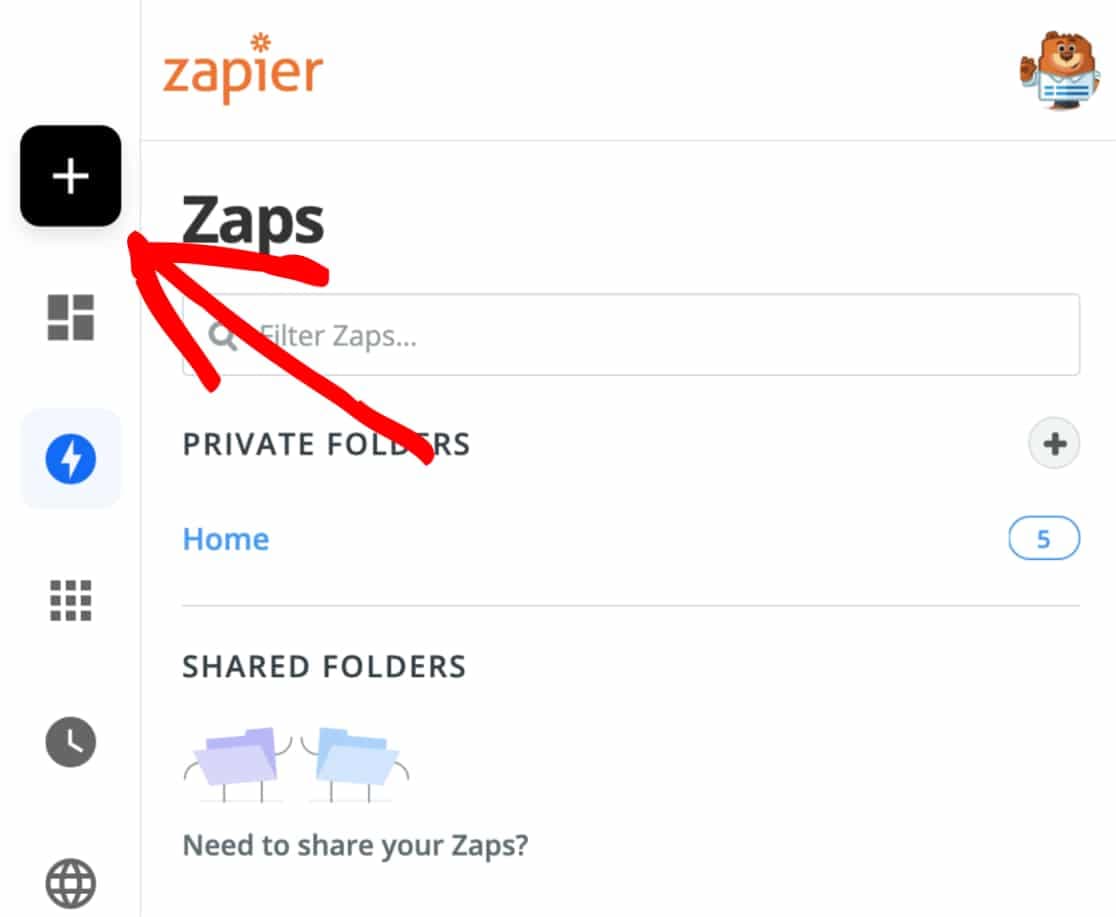
Enter zap details
After you have clicked on the plus button in the previous step, it will redirect you to a new page from where you can enter your zap details. Give your zap a name and then choose WPForms as your first app by searching for it under Choose App & Event.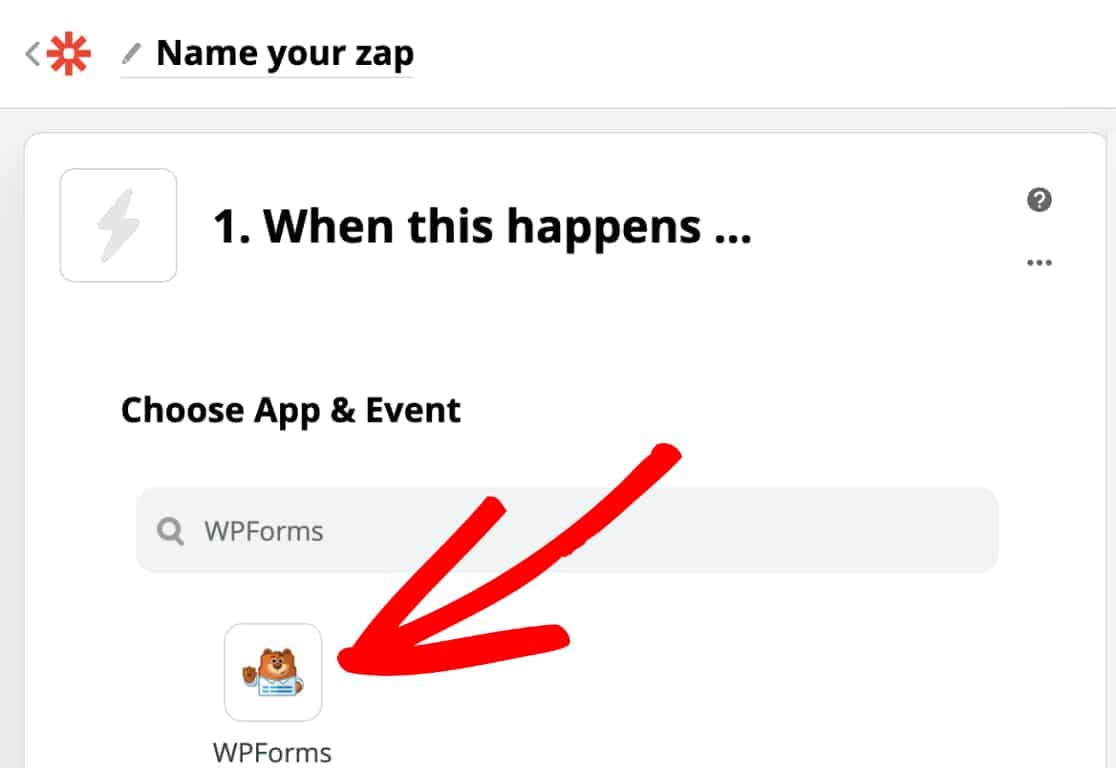
Choose trigger event
Then, select New Form Entry as the trigger event and click on the Continue button.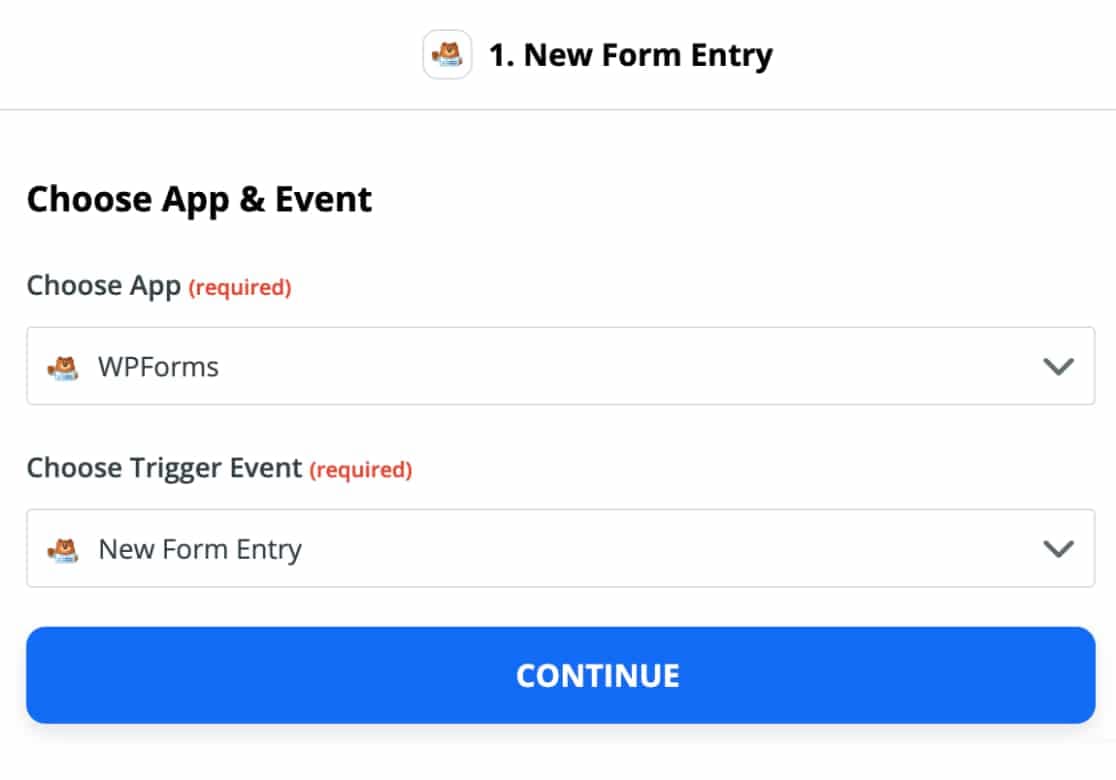
Connect Zapier to WPForms
Finally, click on the Sign in to WPForms button and enter your API key and website’s full URL (including http/https) from Step 3 to connect your Zapier account with your WPForms account. Make sure you click on the Yes, Continue button when you’re ready. Then, choose the account which you want to use for your Zap and click on continue.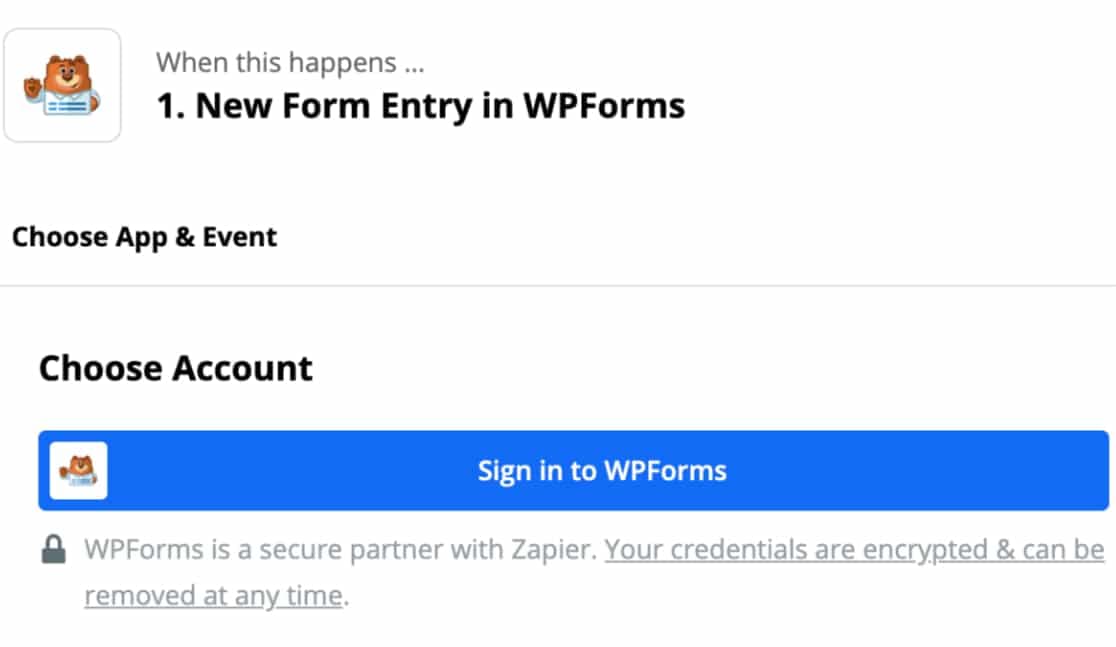
Customize form entry
You will now be able to customize the form entry. Select the form that you want to connect with Zapier and click Continue.
Test the connection
In this step, Zapier will allow you to test your connection before continuing. You can either Test & Continue or Test & Review. Both the options differ slightly in how it tests and proceeds to the next step. Based on the option you select, Zapier will either take you to the next step automatically if things are working fine or allow you to fetch and review the test data manually.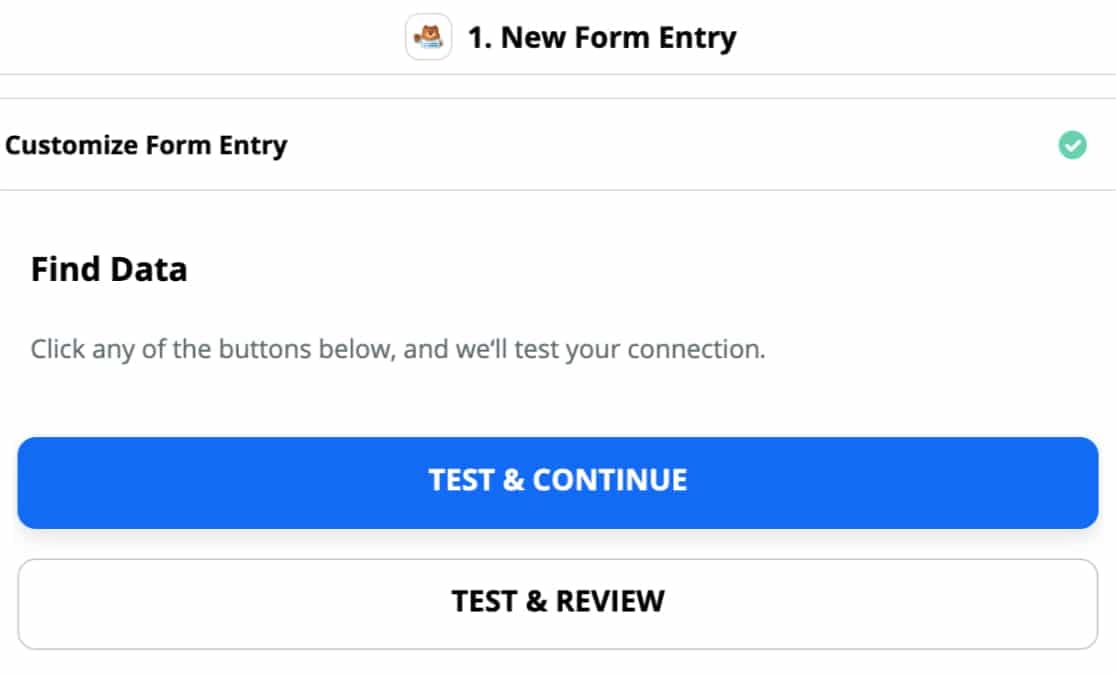
Choose target app and event
In this step, you can choose the target app where the data you get from WPForms should be sent and what it should do with it. Based on the app that you select here, the steps may vary. But, it should be pretty simple since Zapier takes care of most of the things for you.
That’s it, you have now successfully connected WPForms with Zapier and in turn to 3000+ other web applications. The list of things you could do with this integration is endless. Also, you needn’t worry about integrating your WordPress form entries with new software or services in the future. It’ll most likely be available on Zapier and you can just take advantage of that!
If you haven’t got WPForms Pro yet, now would be a good time I think. What do you say?
Also, you needn’t worry about integrating your WordPress form entries with new software or services in the future.